A Fairy Land of Snowflakes

I love the winter activities, snow, and projects we can do in school, but you don’t have to live in the northern states with snow to do all the great winter activities. One of my favorite projects is the snowflake art project. It’s based on the book, The Snowy Day by Ezra Jack Keats.
The Snowy Day
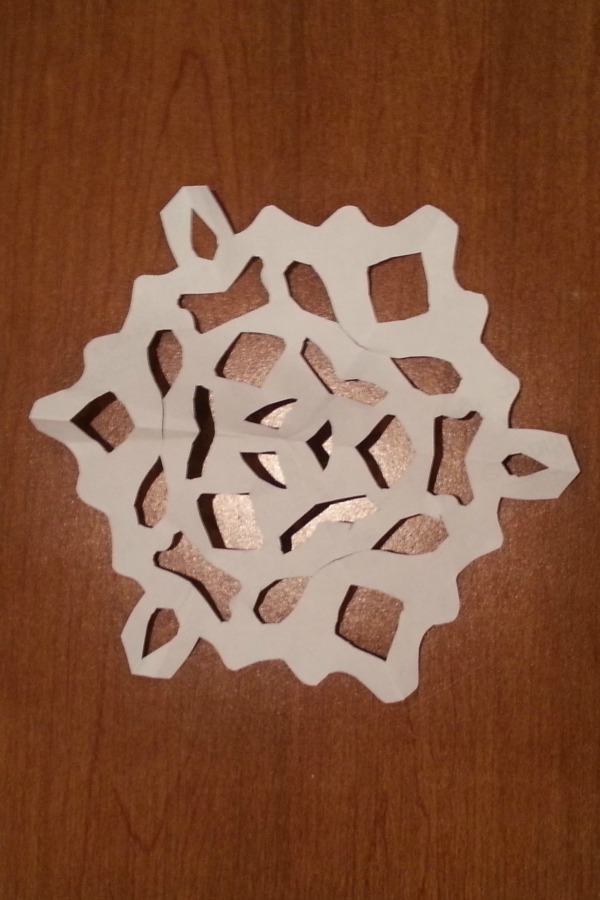
Not all books have beautiful “end pages”, but the book The Snowy Day by Ezra Jack Keats has beautiful end pages. It is like a fairy land of beautiful snowflakes in pink, blue, and purple. The end covers were an inspiration to me, I decided this is project we are making in my kindergarten classroom. Before we even started the project I had the kiddos in my class making snowflakes out of white paper. The kids couldn’t believe how beautiful they were once they opened the paper up and each snowflake was different than the other. They loved it. Every day one of the kids would bring me a snowflake they made at home.
After our practice sessions I read the book The Snowy Day and looked at all the beautiful end pages. I told the kids we could do the same with colored tissue paper, because they were already expert snowflake makers.
Making Snowflakes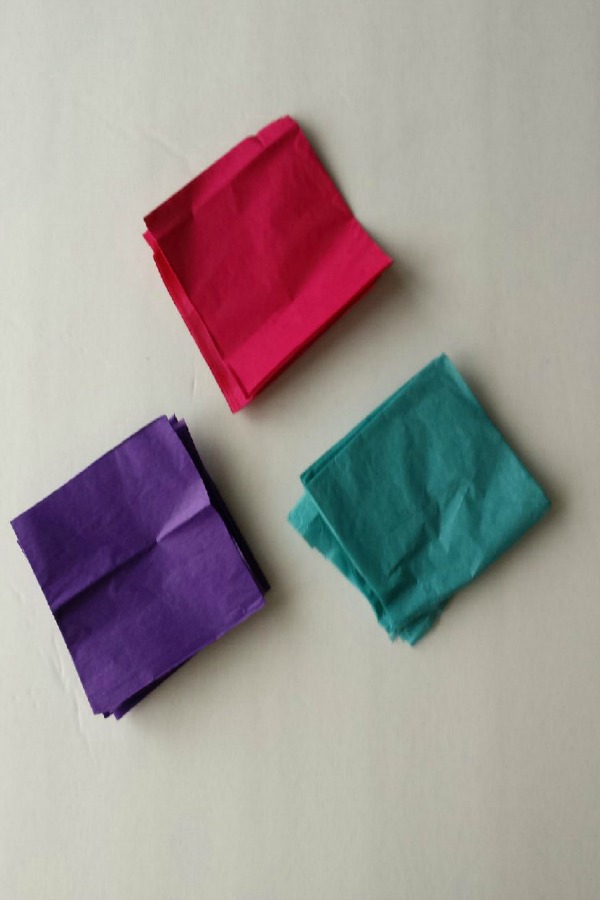
I pre-cut the tissue squares of purple, turquoise and pink and told the kiddos they had to make a snowflake out of each color and then could choose 3 more of one of the colors so there is a total of 6.
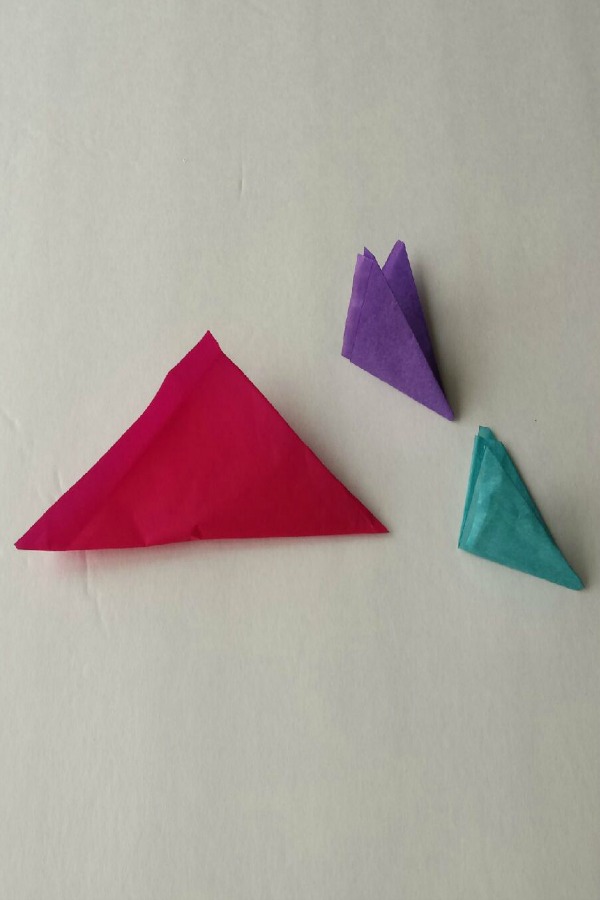
Folding the squares for cutting was very simple. The kiddos folded the square in half to form a triangle and continued with 2 more folds.
Cutting Instructions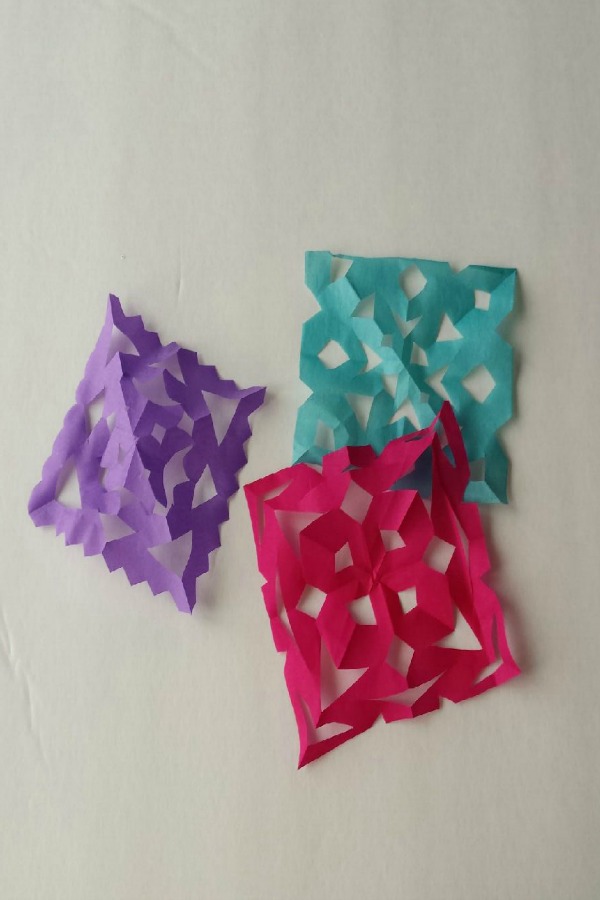
Now it was time to make the snowflake. I talk to the kiddos about snipping out chunks of tissue paper. The only thing they need to remember is they cannot cut out all of the fold on each side.The snowflake must be opened carefully because it’s tissue paper. Each beautiful snowflake is different than the other.
Mounting the Snowflakes on Paper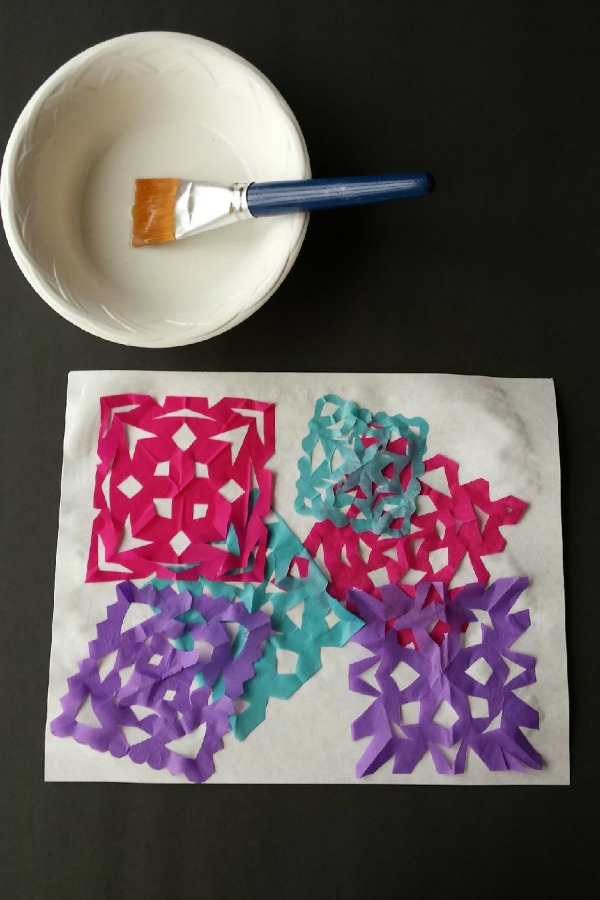
I brush white construction paper with a glue and water mix. The water added but very little. It just needs to be thinned slightly. Lay the snowflakes down the the glued paper. Overlap the snowflakes on the paper, because snowflakes do not come down in rows.
Sparkle Up the Snowflakes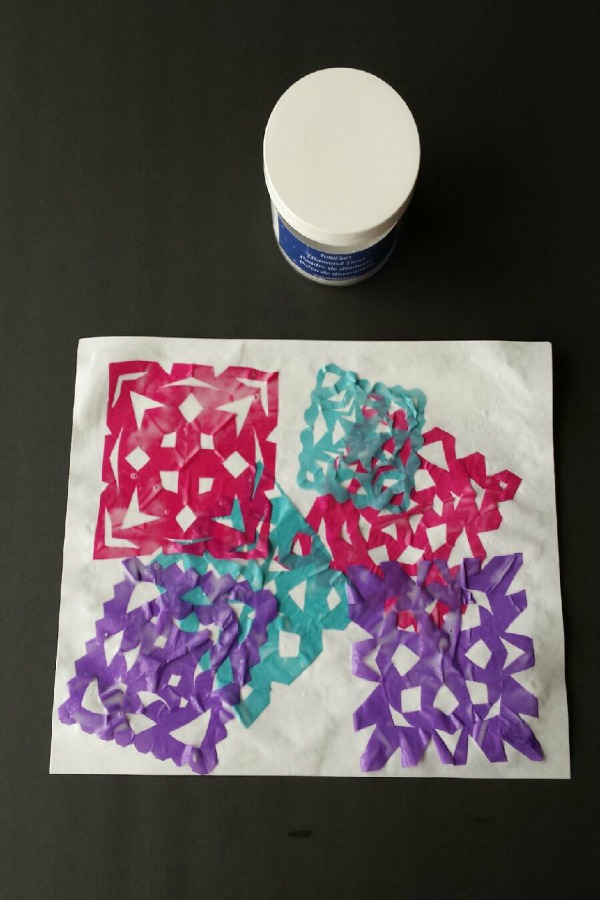
Once the snowflakes are on the paper, brush lightly or dab the glue on the snowflakes. Now sprinkle diamond dust glitter on the snowflakes before the glue dries.
Displaying the Snowflake Masterpieces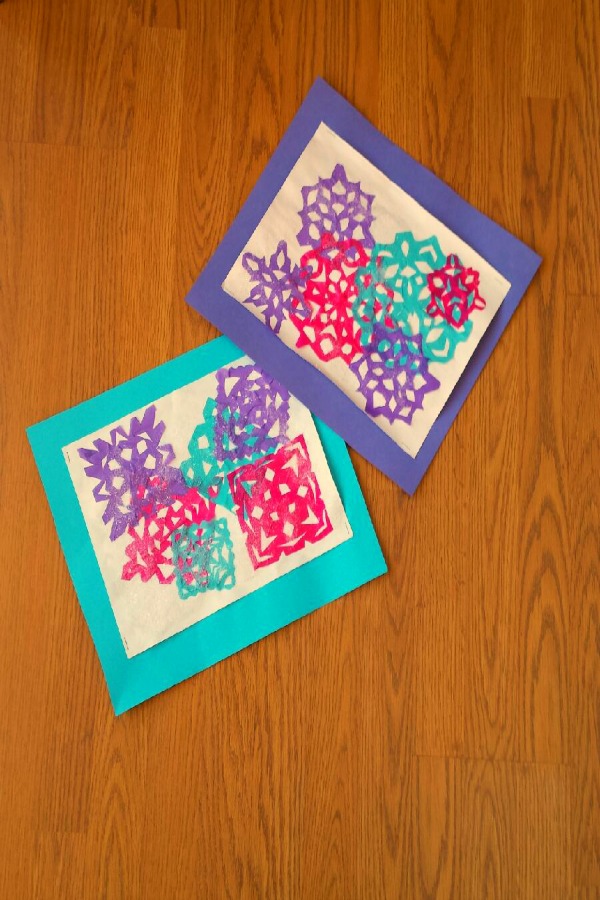
I staple the snowflake picture on a colored construction paper. The pictures are on a bulletin board at different angles. They even overlap each other. It is beautiful!
For more fun winter ideas without snow, go to my store and for Winter Wonderland Science, Math and Literacy Activities.
Looking For More Ideas?
Visit The Teacher Bin on Teachers Pay Teachers where I share lessons, games, and ideas for the classroom!
Let’s Connect
Let’s stay connected! I can be found on Facebook or Pinterest sharing more ideas!
Leave a Reply